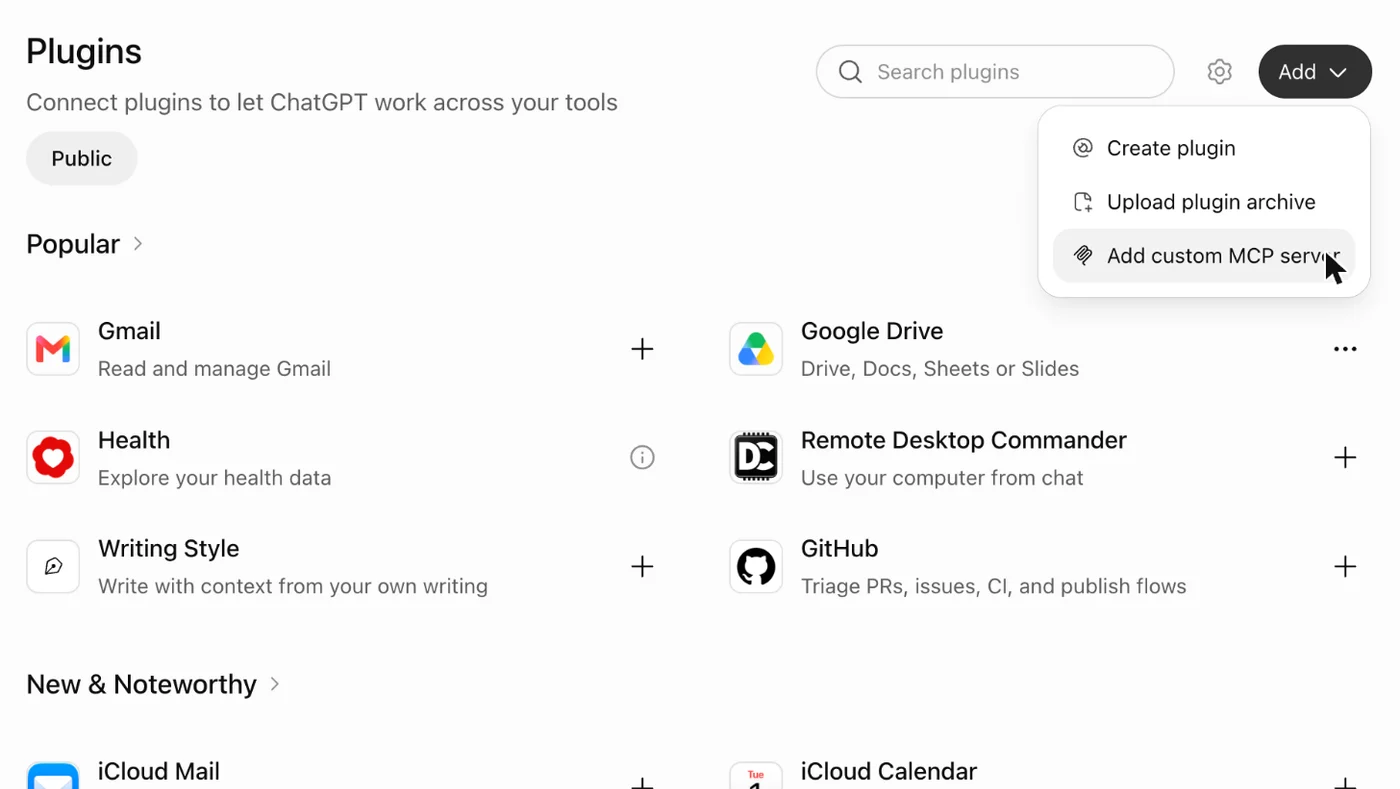
1Open Plugins and choose Add
On chatgpt.com, open Plugins in the sidebar. Choose Add, then Add custom MCP server.
StetPlugins, then Add. The last one in the menu is ours.
Start with Stets · Web and desktop
Add Stets as a custom MCP server on chatgpt.com.
The address of Stets:
On chatgpt.com, open Plugins in the sidebar. Choose Add, then Add custom MCP server.
StetPlugins, then Add. The last one in the menu is ours.
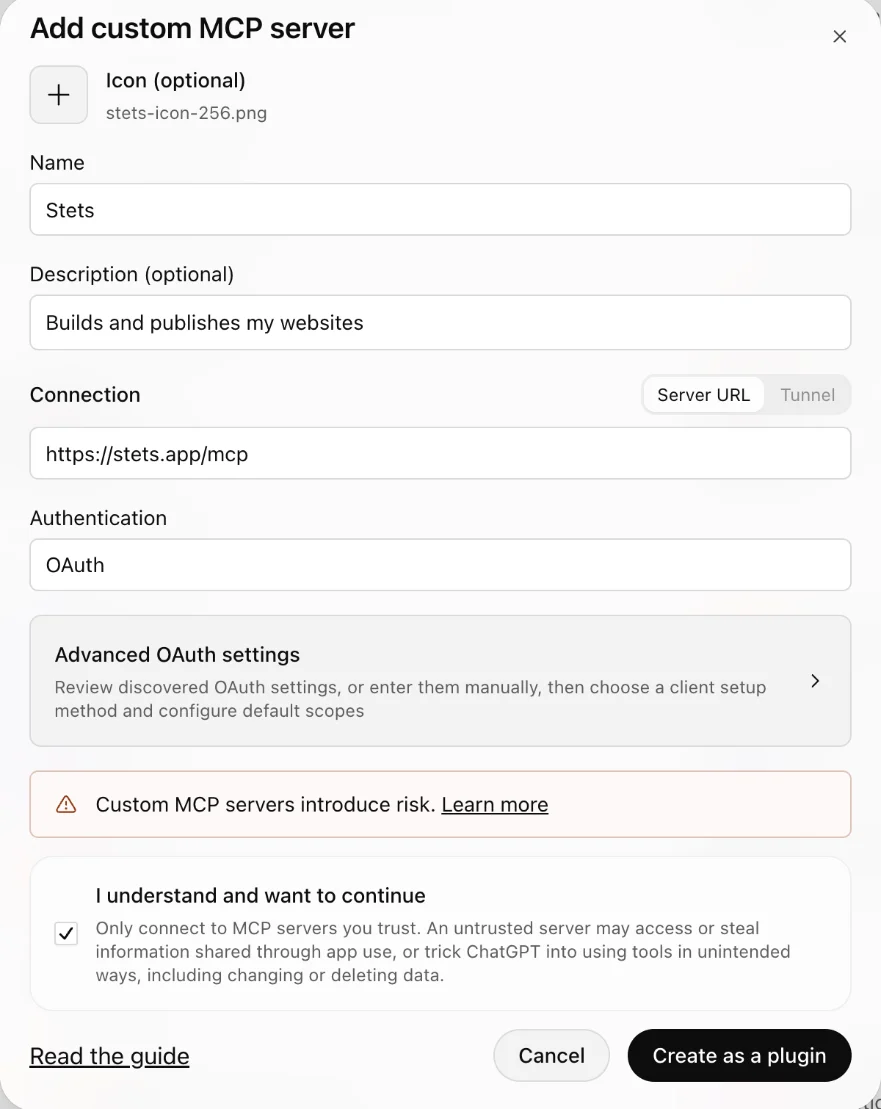
Name: Stets. Server URL: https://stets.app/mcp. Authentication stays on OAuth. Tick I understand and want to continue, then choose Create as a plugin. The icon is optional: you can use ours.
StetName, address, tick the box. OAuth is already right. Create!
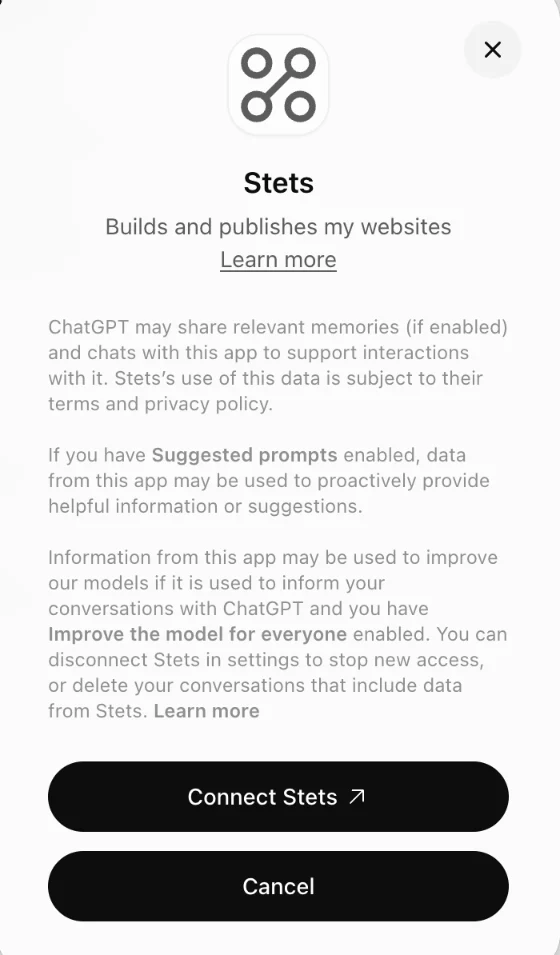
ChatGPT explains what it shares with plugins. Choose Connect Stets.
StetRead it if you like. Then Connect Stets.
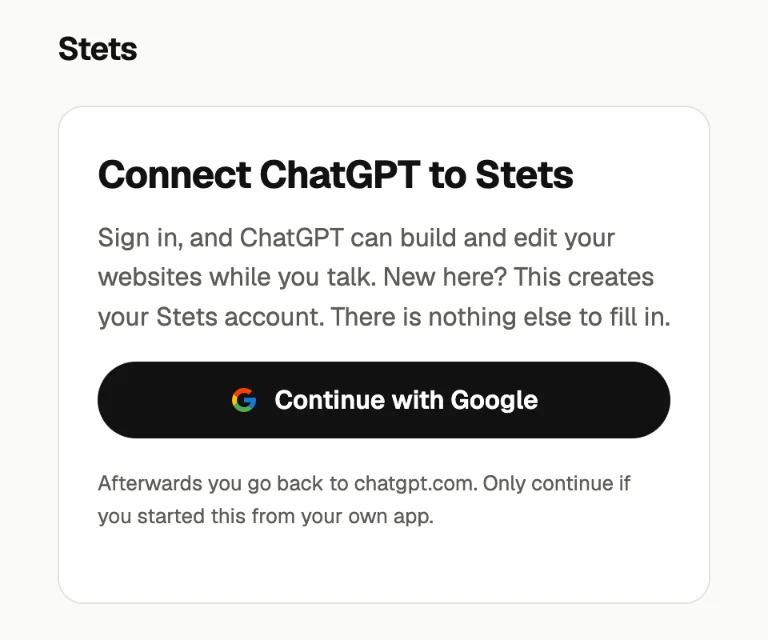
A Stets page opens. Choose Continue with Google and pick your account. New here? This creates your Stets account. There is nothing else to fill in. Already signed in to Stets, say from another app? Then it asks Allow ChatGPT to use Stets?: choose Allow.
StetSame door, different app. One click with Google.
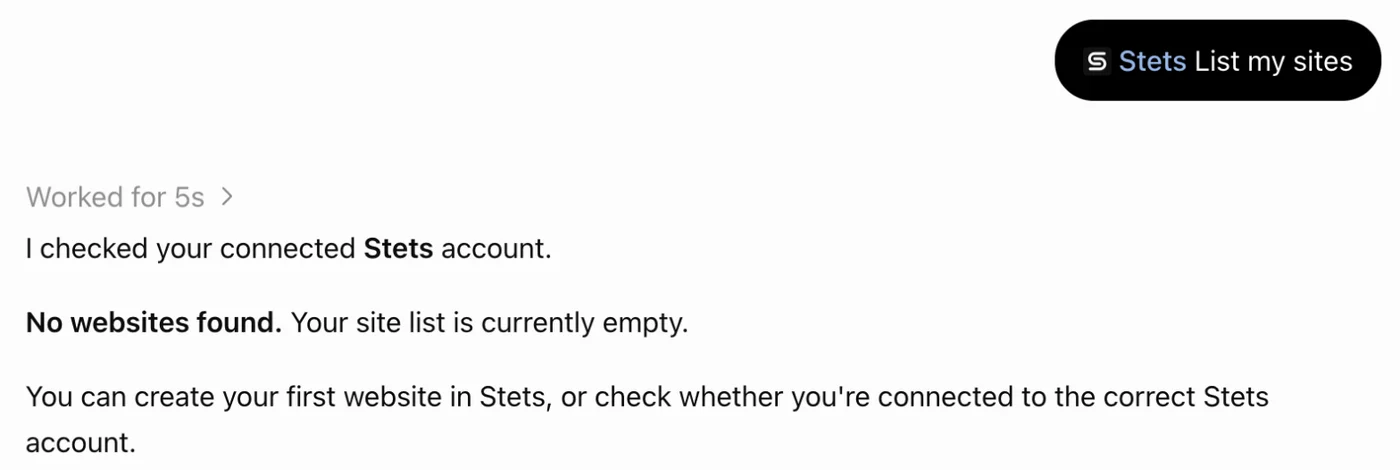
Back on the Stets plugin page, choose Try in chat. A new chat opens with Stets in the message box. Say List my sites. A new account has none yet, so the list is empty.
StetNo sites yet. Plenty of room to build.
Start a new chat and say:
Set it up on chatgpt.com. Plugins belong to your ChatGPT account; we checked Stets on the web.
Making a new site on stets.app is by invitation for now. Without an invitation your agent can still list your sites and work on sites someone shared with you.